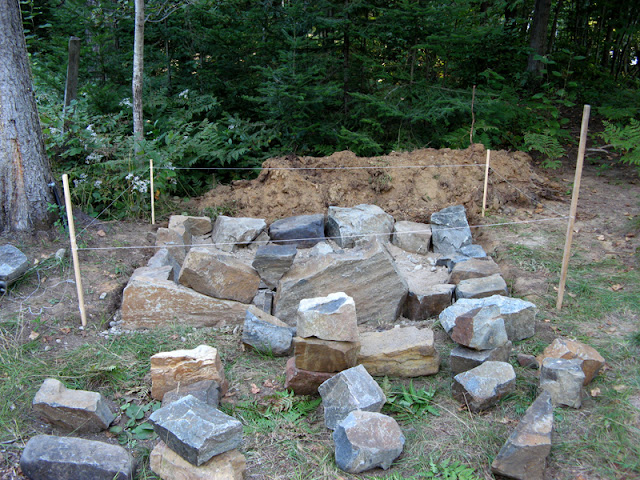
I don't remember where exactly I got the idea from, but when you have the right space, cooking with wood just seems so natural - and tasty. And cooking over an open fire was such a pain in the rear end - having to keep burning wood to get nice hot coals if you wanted to cook anything for a long period of time. So I thought why not build a wood burning ovne? The advantages are numerous - from the stuff you can cook (breads, pizza, meat, beans, etc.), to the high temperatures that you can use safely to get beautiful crusts quickly (try 900 degrees in the stove in your house!) to the flavours you can get (smoke baby!). So I started dreaming about building a stone oven using local rocks that I would form into some sort of dome. And I decided I was going to keep this project as cheap as possible, just for fun.
So, where to put this beast? To give it a nice setting, I thought it would be nice down by the river. I dug into the ground until I hit a solid rocky foundation - probably part of the old river bed. There won't be any frost heaves here. I made a base of sand/gravel (from the local old disused quarry, so free of course) surrounded by concrete that the wall would sit on.
The concrete was kept cheap by buying 60 pound sacks of portland cement from the local Home Despot for $9 a bag. Add 240 pounds of free gravel per batch from the quarry, et voila, lots of cheap concrete.
I used mortar to joint the stones. Mortar is just a different mix of cement than concrete - concrete uses cement with aggregate of different sizes to form a solid stand-alone "block" such as a foundation, but mortar uses cement, lime and sand to form a bond for bricks and stones used to build walls. I used "Type S" mortar cement mix (basically portland cement mixed with lime), also $9/60 pound sac that you add sand to. I sieved sandy gravel from the quarry to get a sand fine enough to use for this mortar, also for free :) As you can see from the pictures, I didn't really know how to mortar properly - my "finger" marks are still all over the mortar!
It was looking pretty good at this stage...wow, at this rate, I figured I could build a stone-walled castle!


